LiftMaster garage door openers set the industry standard for quality, reliability and innovation. These wall-mounted units are also easy to install and simple to operate.
LiftMaster wall control programming is a relatively straightforward process. Use these steps to ensure your opener and garage door operates correctly and safely.
How to Program a Standard LiftMaster Wall Button
Your opener’s wall button and remote control allow you to open and close the garage door. The programming steps for the standard product line include:
- Your LiftMaster opener’s wall control will have a button labeled “Learn” that enables you to program the unit. You’ll find it on the same side as the opener’s antenna. The button’s color may be red, green, orange, purple or yellow.
- After locating the button, press and release it quickly. If your opener is equipped with “smart” myQ® technology, you’ll need to press and release the button twice.
- Pick up the remote control unit and within 30 seconds of pressing the wall control’s “Learn” button, press the button on the remote that you want to program. Hold the button down for 3 seconds and release it.
- If you’ve completed these steps successfully, the opener’s lights will flash or the LED light will turn off (depending on the model).
That’s all it takes to program a LiftMaster wall control standard model!
How to Troubleshoot a LiftMaster Wall Button
What happens if you have difficulty operating your LiftMaster wall control after the initial installation? The corrective action you take depends on the color of your unit’s learn button.
Yellow
If you have a yellow button, follow these steps:
- Disconnect the control panel from the wall by lifting the push button, removing the screw and sliding the unit upward.
- Remove and trim any excess wires touching the circuit board and reattach them to the terminals.
- If the LED lights up, test the door control by pressing the push bar. If this doesn’t work, proceed to step four.
- Remove all the wires from the door control, opener and screw terminals.
- Use a short piece of wire to connect the door control.
- When the LED lights up, test the control panel.
- If the control still doesn’t work, you’ll likely need to replace it.
Green, Red, Orange, Blue and Purple
If your learn button is any of these colors, follow this troubleshooting procedure:
- Remove the panel from the wall by following the same process listed in step 1 above.
- Remove, trim and reconnect any excess wires to the terminal.
- Remove the low-voltage wires from screw terminals on the back of the control panel and touch the ends together.
- If the opener cycles, replace the control panel. If not, proceed to the next step.
- Remove the opener’s wires.
- Use a jumper wire to connect the motor unit’s red and white terminals.
Banko Can Help With LiftMaster Wall Button Programming
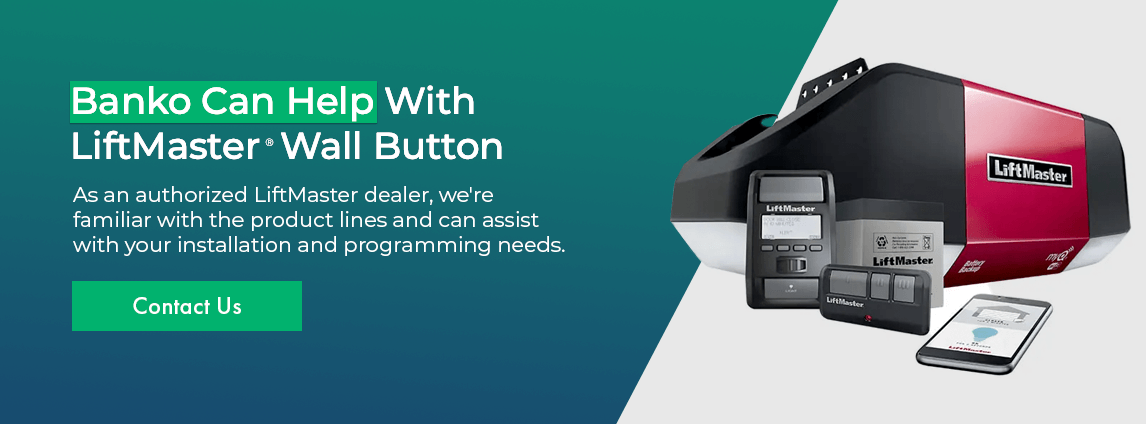
If you’re a homeowner in the Tampa Bay area or surrounding communities, the experienced professionals at Banko Overhead Doors can show you how to program LiftMaster wall controls and remotes. As an authorized LiftMaster dealer, we’re familiar with the product lines and can assist with your installation and programming needs.
Check out our garage door opener lineup today. You can also contact us online to request additional product information. To request a free, no-obligation estimate, fill out and return our online form.

